Install CODE & DRAW locally
The local installation is only required if you want to run back-ends, or if you want to use coded bricks.
The steps in this tutorial will allow you to:
- code and run your own bricks locally
- run Service Apps as back-ends
Prerequisites for installing Olympe
You will need to have the following installed:
- Node.js 20 or greater
- npm (this comes together with Node.js)
- Your favorite IDE e.g. Visual Studio Code
- Git version control system
Install Olympe
Olympe can be set up locally simply by cloning a repository available on GitHub.
- Linux & macOS
- Windows
Open a Terminal window and run the following command in a folder of your choice. It will create a folder there and install Olympe inside it.
git clone https://github.com/olympeio/olympe-project-template.git
cd olympe-project-template
npm install
npm run serve
To stop the server, press Ctrl-C. Closing the terminal window, will also stop the process. Restart it with the "npm run serve" command.
Open a PowerShell window and run the following command in a folder of your choice. It will create a folder there and install Olympe inside it.
git clone https://github.com/olympeio/olympe-project-template.git
cd olympe-project-template
npm install
npm run serve
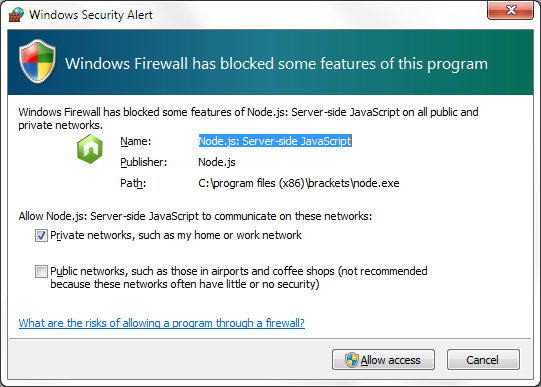
If asked, allow access to Node.js
To stop the server
- Hit CTRL+C 2 times
- Confirm you want to end the process by pressing the Y key
- If it does not work, open a new PowerShell window and run the following command
taskkill /F /IM node.exe
Start composing with DRAW
- In your browser, open this url http://localhost:8888/
- Authenticate with your Community credentials
- See that your Community projects are present
That's all!
You can now take a look at our guides and tutorials, and start building a first app and add a first coded function.
Also, take a look at the README.md file for more details on the local commands.
Launch a Service App as a back-end service
If you have a Service App and want to run it as an actual node.js back-end process, these are the steps to follow:
-
Get the tag (the Olympe unique identifier) of the Service App from the context menu of the Service App:
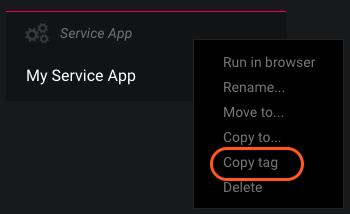
-
Then use it as the value of the parameter
sc.appin the fileres/oConfigNode.jsof your project:{"sc.app": "<your application tag>"}Example:
{"sc.app": "018722493753c408c7dd"} -
Finally, run your service application using the following command:
npm run serve:node
Updating your setup after a new Olympe release
When a new release occurs, your package.json file also needs to be updated. Take a look at the Release Notes to know the version numbers to be used.
All versions are published on npmjs.com.
Fetch these package.json dependencies info automatically
- Simply generate a new project from scratch inside a different folder using the steps above.
- Copy-paste the lines from the
package.jsonto get the latest versions of the dependencies. - Run
npm installin your project.