Create a Bar Chart with React
This tutorial dig deeper into implementing a React Brick. It assumes that you are familiar with the Coded Visual Component and the basic React Functional Implementation
Welcome to this tutorial ! Let's say you want to create a bar chart in your application, but DRAW doesn't offer any ready-to-use brick that would do the job ! Well, now is the time to get your hands dirty.
We will create a bar chart with CODE. At the end of this tutorial, you will have a better understanding of RxJS and React integration with CODE. You will also be able to integrate a JS library of your choice with CODE.
To follow this tutorial, you need to create a new Olympe project and launch DRAW to then reach DRAW at the local address http://localhost:8888/.
All right, now that you are ready, buckle up and enjoy the show because there's a lot to cover. But don't be afraid, we'll go slowly.
Create a coded visual component signature in DRAW
Coded Visual Component will be the bread and butter of the applications you design using DRAW.
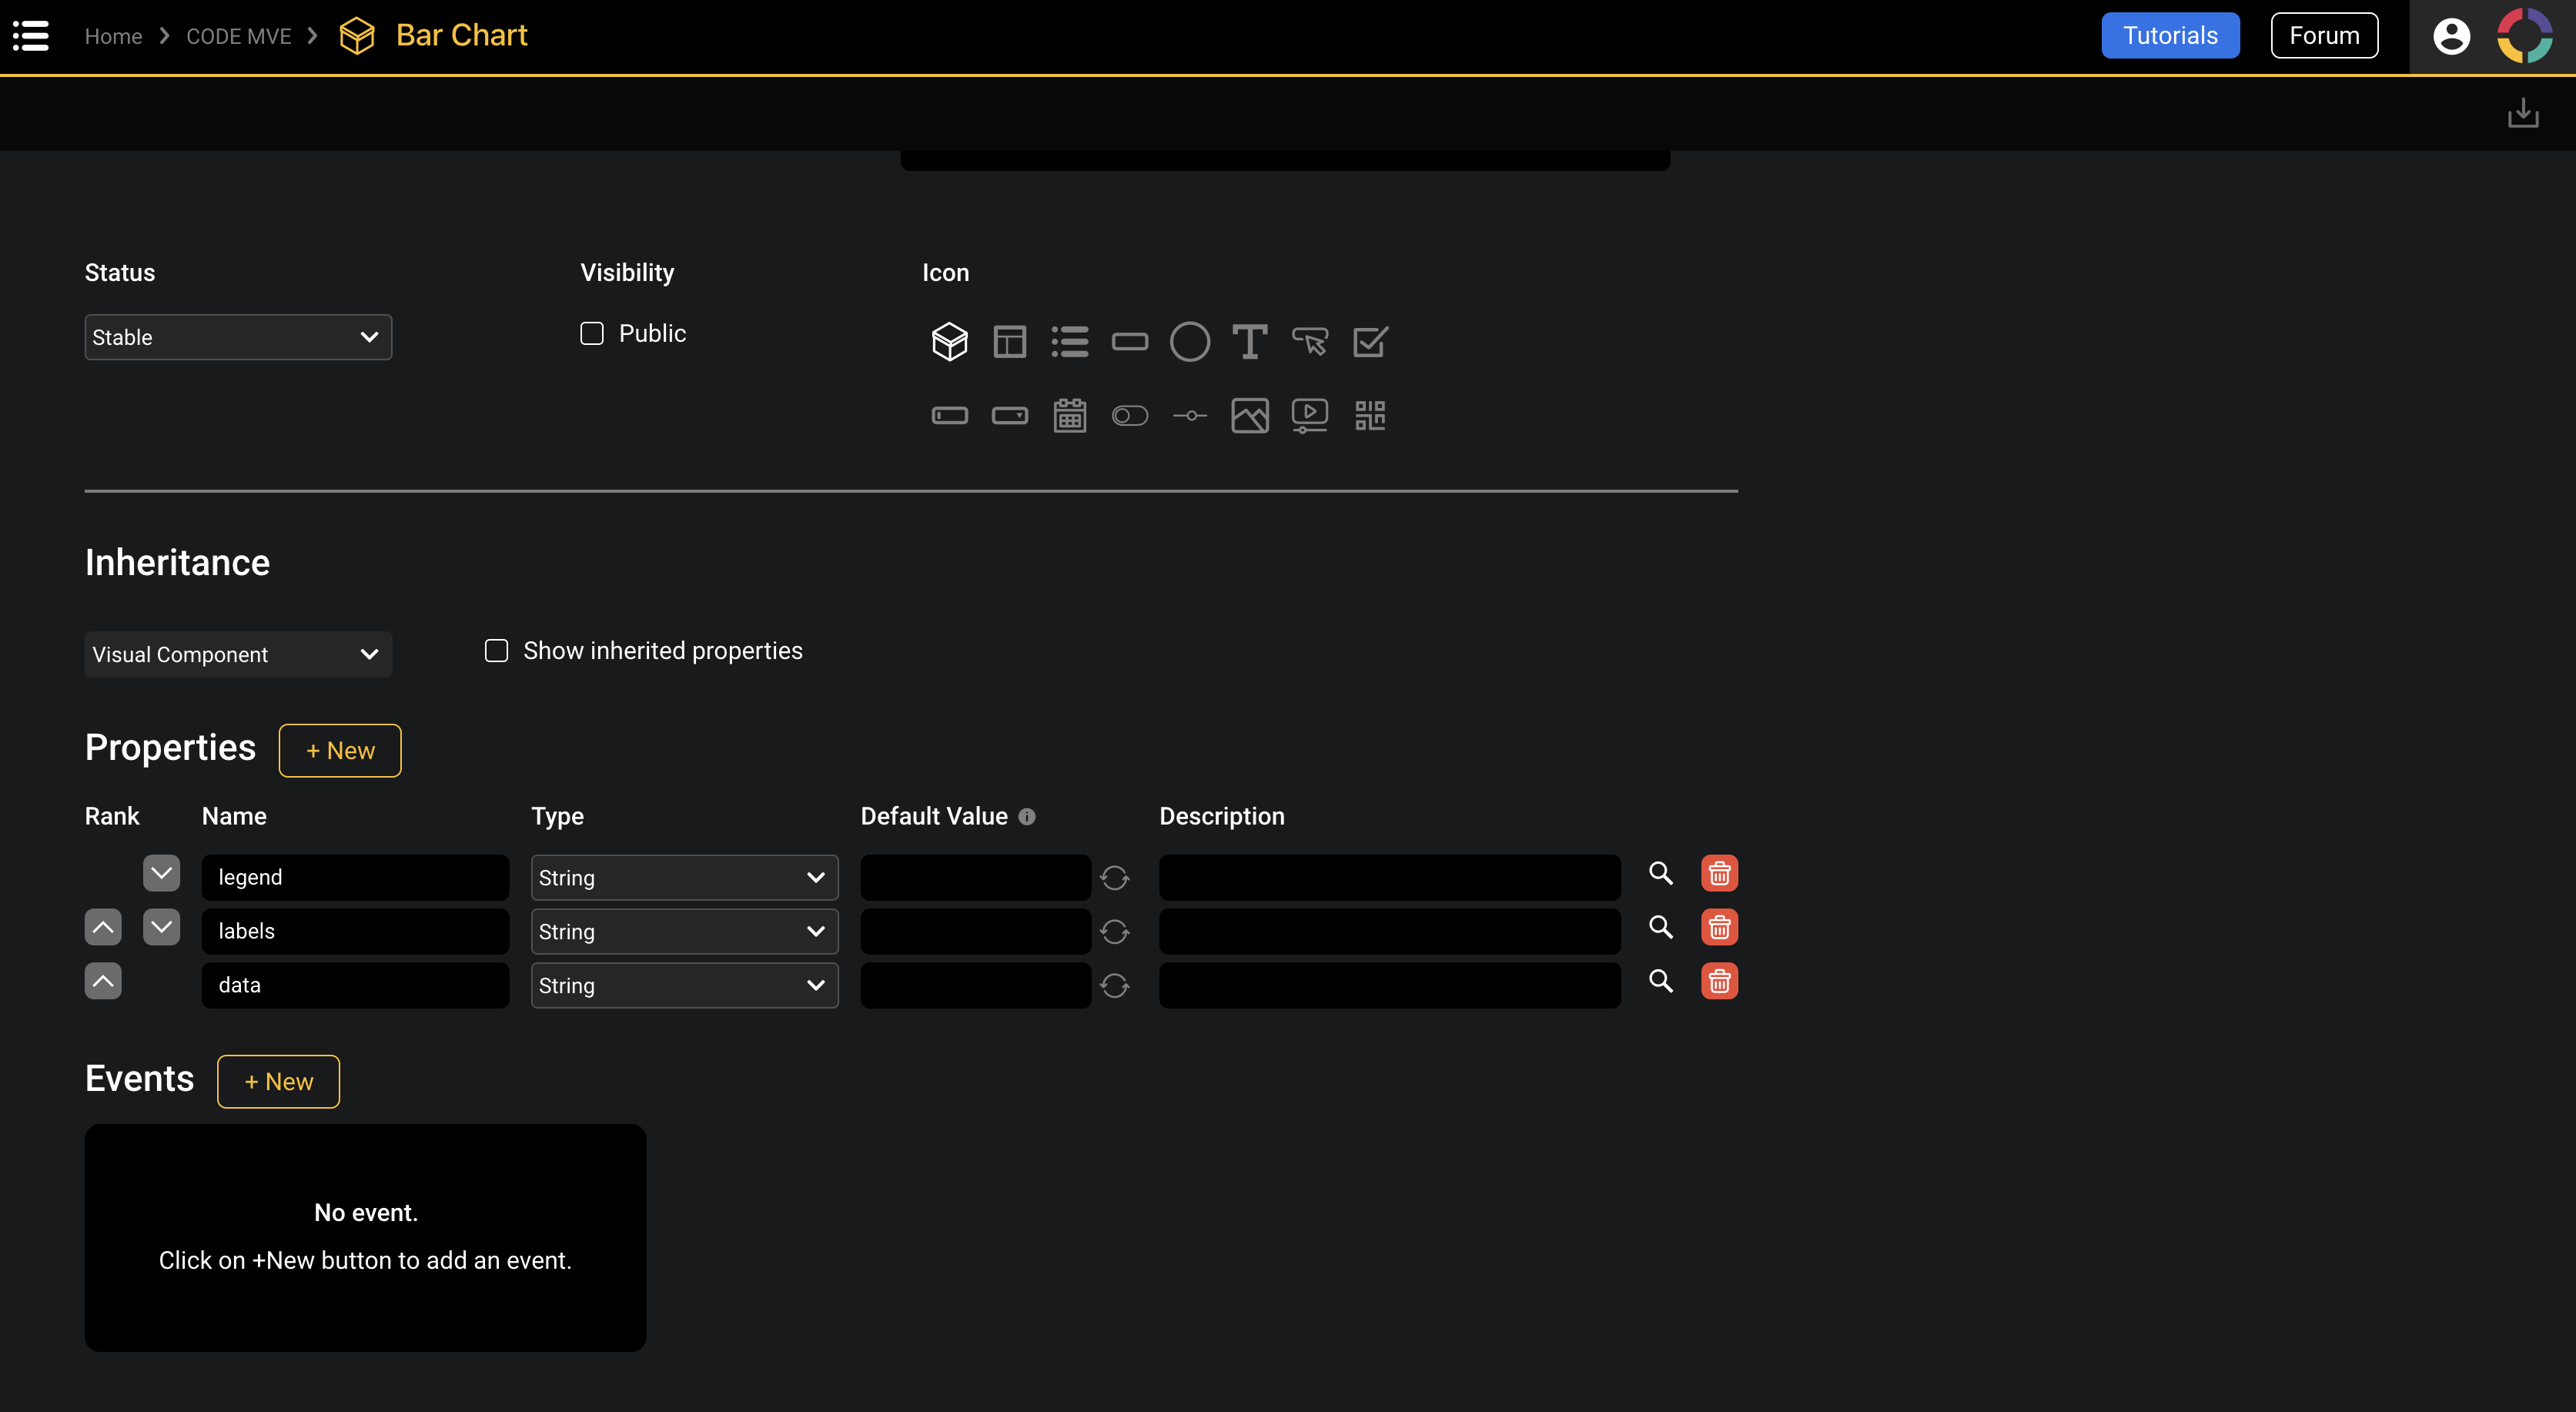
Navigate to your project's root in DRAW. Pick the brick called Coded Visual Component in the marketplace and drop it in your project. Name your new component Bar Chart and open it.
Properties and Events
You just landed in the context editor of visual components.
Visual components interact with their environment using two types of objects: properties and events (whereas functions use inputs and outputs). You should be familiar with them if you have seen a Visual Component before.
You can view a Coded Visual Component as a black box that communicates with other objects only through the properties and events you defined.
Properties are attributes you want to expose to the consumer of your component that can be either read or set. Events are signals that can be sent to/from the component.
Here, create properties called legend, labels, data.
Generate the CODE template
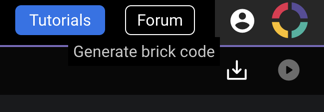
You can generate the JS code template of your component using button Generate brick code in the screen top right corner.
You will be offered to download the Javascript file BarChart.js. Rename it as BarChart.jsx and store it in the src/bricks folder of your project.
Details
JSX: JavaScript Syntax Extension
JSX is a syntactic extension of JavaScript. It basically allows to use HTML markup inside JavaScript code. It comes with its own file extension:.jsx.Let's analyse a bit the generated template: the files contains a single class BarChart, which contains a single render method. Implementing a coded visual component consists in implementing this method.
import { VisualBrick, registerBrick } from 'olympe';

export default class BarChart extends VisualBrick {

    /**
     * @override
     * @protected
     * @param {!BrickContext} $
     * @param {!Array<*>} properties
     * @return {Element}
     */
    render($, properties) {
        // Write your code here. You have to implement this method !
        // This method returns the rendered element that is attached to its parent with the overridable method `updateParent()`.
        // Executed only once by default, override `setupExecution()` to change the behaviour and control the `properties` parameter.
    }
}

registerBrick('017d6cbc79bf86dad51e', BarChart);
However, as explained in React Functional Implementation, we will take advantage of Olympe ReactBrick class and rewrite this brick code as such:
import { registerBrick } from 'olympe';
import { ReactBrick } from '@olympeio/core';
import React from 'react';

export default class BarChart extends ReactBrick {
    // Indicate that `render()` must be called everytime the component is shown
    setupExecution($) {
        return $.observe('Hidden');
    }

    static getReactComponent($) {
        return () => {
            return (
                <></>
            );
        };
    }
}

registerBrick('017d6cbc79bf86dad51e', BarChart);
Implement your brick with CODE, RxJS, and React
In this section, we will see how we can use React with your coded visual component to actually produce something nice. If you are not familiar with React, it's okay. This tutorial does not dive into complex React features.
We will go through th following steps:
- Subscribe to the component properties.
- Write a bar chart renderer.
- Call React DOM processor.
Details
React
React is a JavaScript library to build user interfaces. React will allow you to declare state variables that will control your views (in the sense of the MVC architecture). When a state changes, React will automatically update the DOM for you. This means that you no longer need to manipulate the DOM yourself. Instead, you manipulate a virtual DOM (a copy of the actual DOM) provided by React. This makes your code safer and less susceptible to slow down the DOM rendering.Don't hesitate to check React's official documentation if you want to learn more about it: React Getting-started.
RxJS and Olympe Properties
As mentioned before, Coded Visual Component does not have inputs and outputs like Coded Action and Coded Function do. You need to access your properties and events directly from the Olympe context $ object that is passed down to the component methods.
Typically in Olympe you would need to observe properties using $.observe('legend') syntax. However, in React it's best to take advantage of hooks and Olympe provide the useProperty hooks from @olympeio/core module.
Details
RxJS and Reactive Programming
Reactive programming is an asynchronous programming paradigm concerned with data streams and the propagation of change. RxJS (Reactive Extensions for JavaScript) is a library for reactive programming using objects called observables that makes it easier to compose asynchronous or callback-based code.You can find more about RxJS here: RxJS official Doc.
In short, RxJS is responsible for all the cool real-time interactivity of DRAW and CODE. But in CODE, this is not done automatically for you. You have to actually work a bit and set it up.
Details
React function component
TheReactBrick class expect the method getReactComponent to return a React Functional Component. React hooks can only be used inside React Functional Component. That's where you'll find the useProperty hook for example.Updating the component
By default, Visual Component are set in a way that the render method is called only once (for performance reason). When designing a component you musk ask yourself: "Do I need render to be called if this property change?". Some use case are:
- For the
Hiddenproperty, we tend to prevent rendering alltogether (and destroy related context variables) if a component is hidden. It can increase performance. A lot of Visual Component in@olympeio/coreuse this approach - Or for properties that trigger API calls or require costly data processing. In such case you can do the heavy work in the
setupExecutionmethod and return the computed value in the observable. You can learn more about this in When Does My Code Run?.
Bar chart renderer
We want a bar chart from Chart.JS library, working with React. We will use react-chartjs2, which is a React wrapper for Chart.js.
Install both dependencies with npm:
npm i chart.js react-chartjs-2
Import Chart.js and the React wrapper of th Bar component with:
import { Bar } from 'react-chartjs-2';
import Chart from 'chart.js/auto';
And update getReactComponent as such:
static getReactComponent($) {
    return () => {
        const labels = useProperty($, 'labels') ?? '';
        const legend = useProperty($, 'legend') ?? '';
        const data = useProperty($, 'data') ?? '';
        return (
            <Bar
                data={{
                    labels: labels.split(','),
                    datasets: [{label: legend, data: data.split(',')}]
                }}
                options={{ maintainAspectRatio: false }}
            />
        );
    };
}
This is pure JSX code. We return a <Bar/> component which will adjust to any change in its state variables labels, legend and data. The useProperty hook is a very effective way to listen to Visual Component properties and turn them into React state variables.
Under the hood
Behind the scene the ReactBrick is very much like a VisualBrick. In fact, it simply overrides two methods (see below with some comments). You don't need to use this code in your brick, it's just here to give you a better understanding. By the way you are free to override these methods to better suit your needs.
/**
 * Attach a React element to the DOM parent element, like for a "normal" Visual Brick
 * @override
 */
updateParent(parent, element) {
    ReactDOM.render(element, parent);
    return () => { ReactDOM.unmountComponentAtNode(parent); };
}

/**
 * Render the component calling `getReactComponent` in order to use the Function React Component approach
 * @override
 */
render($, properties) {
    const Component = this.constructor.getReactComponent($);
    return (<Component values={properties} />);
}
Summary: entire component
import { registerBrick } from 'olympe';
import { ReactBrick, useProperty } from '@olympeio/core';
import React from 'react';
import { Bar } from 'react-chartjs-2';
import Chart from 'chart.js/auto';

export default class BarChart extends ReactBrick {
    // Indicate that `render()` must be called everytime the component is shown
    setupExecution($) {
        return $.observe('Hidden');
    }

    static getReactComponent($) {
        return () => {
            const labels = useProperty($, 'labels') ?? '';
            const legend = useProperty($, 'legend') ?? '';
            const data = useProperty($, 'data') ?? '';
            return (
                <Bar
                    data={{
                        labels: labels.split(','),
                        datasets: [{label: legend, data: data.split(',')}]
                    }}
                    options={{ maintainAspectRatio: false }}
                />
            );
        };
    }
}

registerBrick('0188fd07e96365e61b59', BarChart);
You can try to reproduce the following chart with the following inputs:
legend=>My Datalabels=>A,B,C,Ddata=>3,2,1,4

That's it for this tutorial ! Feel free to explore on your own and try other libraries like Material UI, or try coding your
own functions with the Coded Actions/Coded Function bricks. Thank you for reading !