Create a Coded Visual Component
In this guide, you will see how to create a coded Visual Component. As for coded functions and actions, this is done in two steps:
- Create a brick interface using DRAW
- Implement it with CODE
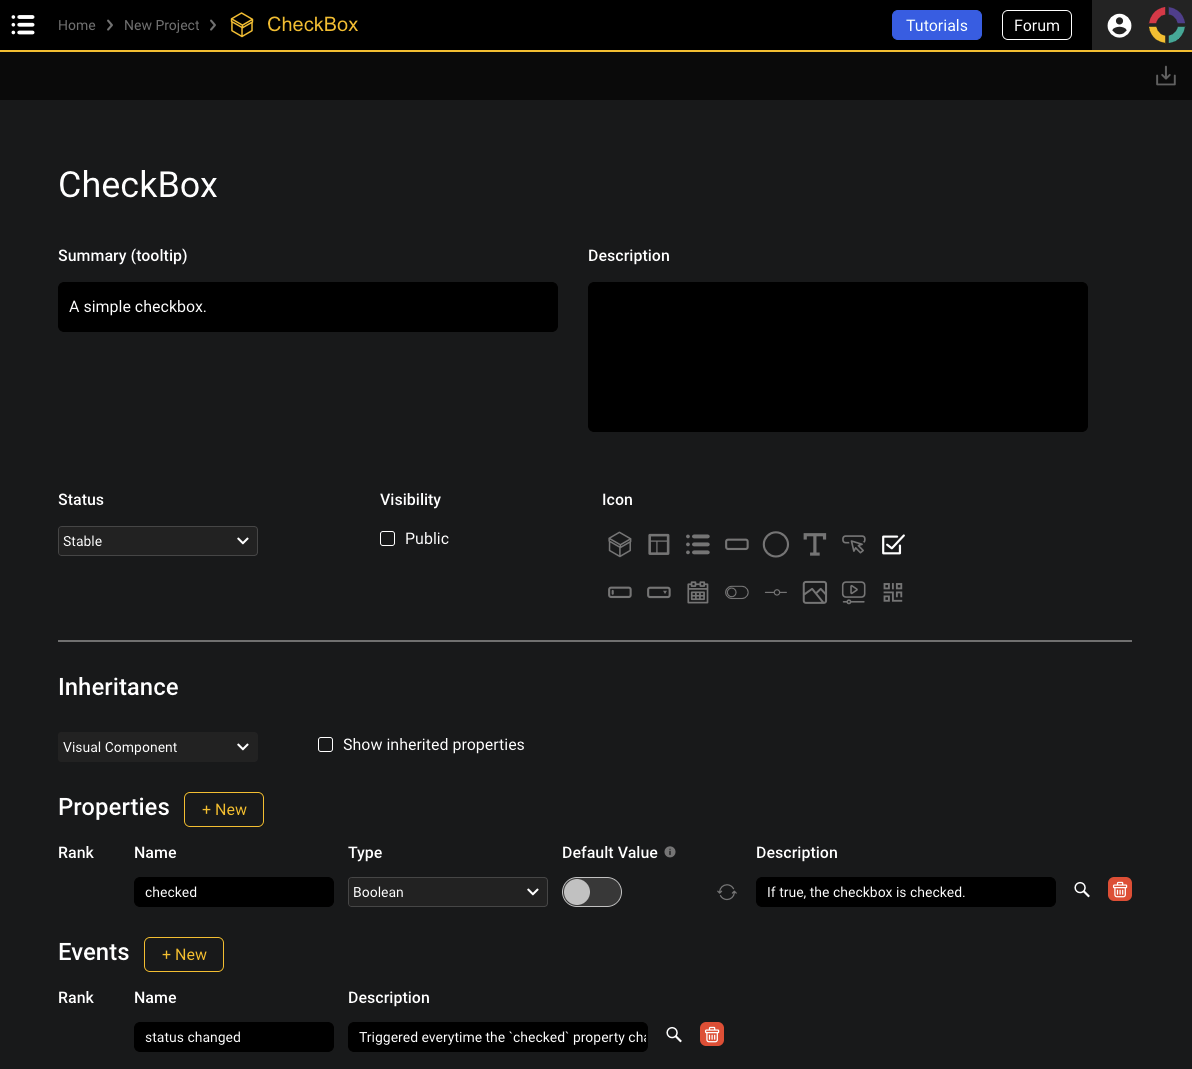
In this tutorial, you will create a simple CheckBox component that has a status changed event and a checked property. We will see how to implement it in native HTML and with the React framework.
Look at the code of the Olympe Core visual components on GitHub. This is a great source of examples covering many different scenarios. A TypeScript example is also provided.
Create the brick interface and CODE skeleton with DRAW
Open your project in DRAW. Drag a Coded Visual Component from the marketplace and drop it in your project. Give it a name (this tutorial will use CheckBox) and open it.
There are two buttons to create the component's events and properties, respectively. An event works as a bare signal, whereas a property always has a value attached. An event can be triggered either internally from the component or externally by the app. Equivalently, a property value can be updated either from within the component or from the app.
Create an event named status changed with the Add event button and a boolean property named checked with the Add property button.

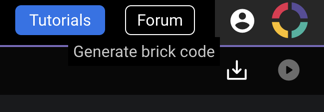
The interface of your component is ready. Generate the JS code skeleton using button Generate brick code in the screen top right corner. You will be offered to download the JS file CheckBox.js. Store it in the src/bricks folder of your project.

The generated code looks like this:
import { VisualBrick, registerBrick } from 'olympe';

export default class CheckBox extends VisualBrick {

    /**
     * @override
     * @protected
     * @param {!BrickContext} $
     * @param {!Array<*>} properties
     * @return {Element}
     */
    render($, properties) {
        // Write your code here. You have to implement this method !
        // This method returns the rendered element that is attached to its parent with the overridable method `updateParent()`.
        // It is executed only once by default. Override `setupExecution()` to change the behavior and control the `properties` parameter.
    }
}

registerBrick('<your brick tag>', CheckBox);
The render method must return the rendered DOM element or null to render nothing. Like for actions and functions, the first parameter $ is the brick context (see Understanding Coded Bricks and Understanding Brick Context for more details).
At the bottom of the file, registerBrick is a function taking the unique identifier of your coded function in DRAW to associate it with the JavaScript class in CODE.
Native HTML implementation
You just need to implement the render method. This method is called once by default. A simple implementation could be:
render($) {
    // We create a DIV html element
    const element = document.createElement('div');

    // We listen to any 'click' event on it
    element.addEventListener('click', () => {
        // Change the 'checked' property value
        $.set('checked', !$.get('checked'));

        // Trigger the 'status changed' event
        $.trigger('status changed');
    });

    // Observe the 'checked' property and change the icon accordingly
    $.observe('checked').subscribe(checked => {
        element.innerHTML = checked ? '☑' : '☐';
    });

    // Return the element to render
    return element;
}
In the above code we use the brick context $ to manipulate the property checked and the event status changed. We also removed the properties parameter as we don't use it here.
In this example, we listen to the click event of the DOM element. When the user clicks on the component, we toggle the value of the checked property and emit the status changed event. (We get the current value of checked using the $.get() method and update its value using the $.set() method.)
In parallel, we observe changes of the checked property and dynamically display either ☐ or ☑.
Methods get, set, observe, and trigger are case-sensitive. Be careful that your component's properties and events names are spelled the same between DRAW and CODE.
React implementation
Let's now look at a simple implementation using React and MUI Checkbox. To run this tutorial part, your project must have React, Babel, and MaterialUI dependencies. If it misses, React or Babel, we recommend to use the Yeoman project generator. If it misses MaterialUI, just install it with npm npm i @mui/material.
Generate the JS code skeleton as before, but then rename file CheckBox.js to CheckBox.jsx to be able to use JSX.
import { VisualBrick, registerBrick } from 'olympe';
import { combineLatest } from 'rxjs';

import React from 'react';
import ReactDOM from 'react-dom';
import MUICheckbox from '@mui/material/Checkbox';

export default class CheckBox extends VisualBrick {

    // Indicate that `render()` must be called everytime `checked` changes
    // and everytime the component is hidden or shown
    setupExecution($) {
        return combineLatest([$.observe('checked'), $.observe('Hidden')]);
    }

    // Use ReactDOM to manage the element
    updateParent(parent, element) {
        ReactDOM.render(element, parent);
        return () => ReactDOM.unmountComponentAtNode(parent);
    }

    // Render simply returns a React element
    render($, [checked]) {
        return (
            <MUICheckbox
                checked={checked}
                onChange={() => {
                    $.set('checked', !checked);
                    $.trigger('status changed');
                }}
            />
        );
    }
}

registerBrick('<your brick tag>', CheckBox);
Methods set, observe, and trigger are case-sensitive. Be careful that your component's properties and events names are spelled the same between DRAW and CODE.
There are multiple ways of doing this brick. To better understand what's happening here take a look at: Understanding Coded Brick.
React Functional Component implementation
Olympe also provides a simple way of implementing React Functional Components, thus allowing the use of React Hooks. This is achieved by using the ReactBrick class, which extends VisualBrick and is available in the @olympeio/core package.
import { registerBrick } from 'olympe';
import { ReactBrick, useProperty } from '@olympeio/core';

import React from 'react';
import MUICheckbox from '@mui/material/Checkbox';

export default class CheckBox extends ReactBrick {
    static getReactComponent($) {
        return () => {
            const checked = useProperty($, 'checked');
            return (
                <MUICheckbox
                    checked={checked}
                    onChange={() => {
                        $.set('checked', !checked);
                        $.trigger('status changed');
                    }}
                />
            );
        };
    }
}

registerBrick('<your brick tag>', CheckBox);
With ReactBrick you can simply define the static method getReactComponent, which returns the React functional component. In this arrow function you can use all React Hooks.
In the example above we use a Hook provided by CORE: useProperty.
This Hook observe a given property of your component and binds it to a stateful React value, using useState and useEffect behind the scene.
Methods useProperty, set, and trigger are case-sensitive. Be careful that your component's properties and events names are spelled the same between DRAW and CODE.
Another thing to note is that you can still override setupExecution if you want your component to fully re-render:
setupExecution($) {
    return $.observe('Hidden');
}

static getReactComponent($) {
    return (props) => {
        const [hidden] = props.values;
        return !hidden && /* ... */;
    };
}
The values returned by the observable of setupExecution can be retrieved in the arrow function using props.values.
CODE Visual API
To deepen your understanding of the CODE API you may read Understanding Coded Bricks and High Order Bricks.